Elevate your appetizer game with our deviled eggs! These hard-boiled delights are filled with a rich yolk-mayo-mustard blend, perfect for any occasion.
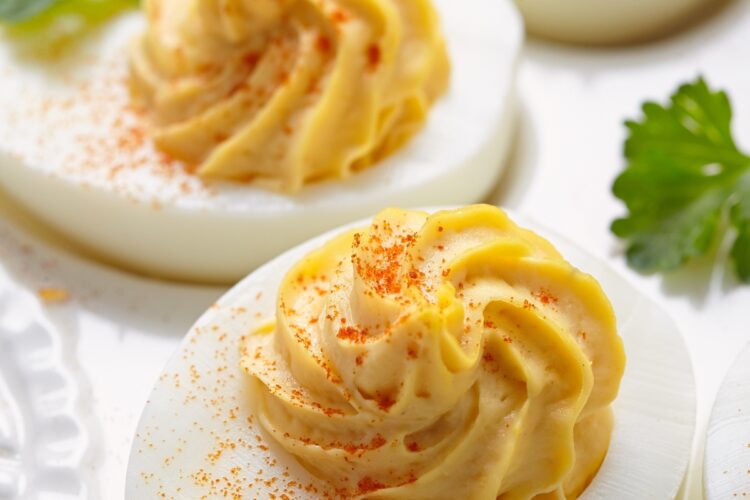
Deviled eggs are a quintessential crowd-pleaser, gracing tables at everything from elegant holiday gatherings to casual summer picnics. Their enduring appeal lies in their delightful simplicity: perfectly tender hard-boiled egg whites cradling a rich, tangy, and incredibly creamy filling. The magic truly happens in that vibrant yellow center – a luscious blend where cooked egg yolks are mashed into submission with mayonnaise and mustard, creating a flavor profile that is both comforting and zesty. While countless variations exist, mastering the classic combination is key. This recipe focuses on achieving that perfect balance of textures and tastes, resulting in irresistibly smooth, flavorful deviled eggs that are guaranteed to vanish quickly from any platter. They are easy to make, satisfying to eat, and offer a perfect canvas for creativity once you’ve nailed the fundamentals.
The Foundation: Perfect Hard-Boiled Eggs
Before diving into the creamy filling, the quality of your hard-boiled egg is paramount. The goal is a tender, uniformly cooked white and a fully set, bright yellow yolk, completely free from that unappetizing greenish-grey halo that indicates overcooking. Slightly older eggs (about a week old) often peel more easily than farm-fresh ones. Following the proper cooking and cooling technique ensures the ideal base for your delicious filling.
Ingredients You’ll Need
- 6 Large Eggs: The star of the show.
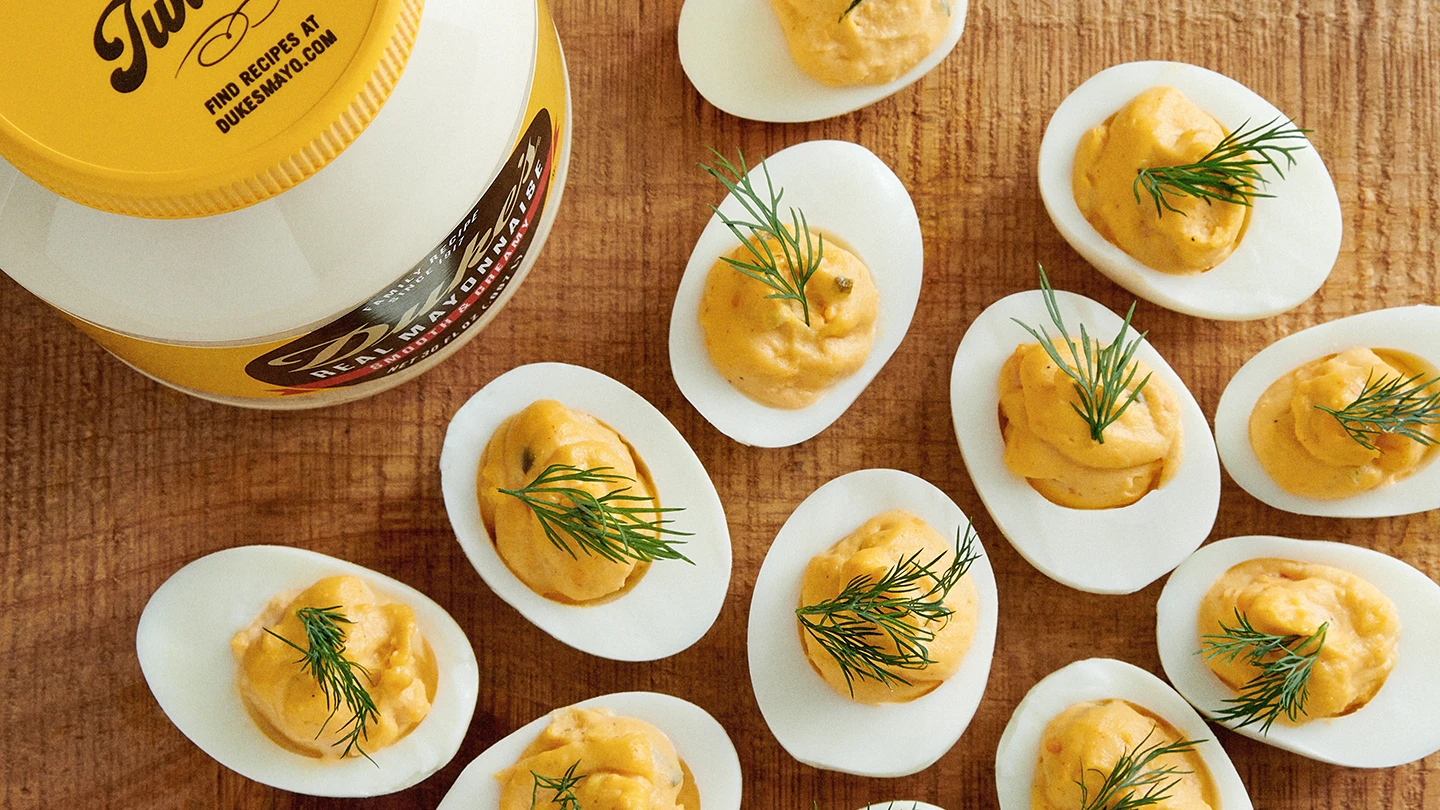
- 1/4 cup High-Quality Mayonnaise: This forms the creamy base. Use a full-fat variety like Hellmann’s/Best Foods, Duke’s, or Kewpie for the richest flavor and texture. Avoid using Miracle Whip unless you specifically prefer its sweeter, tangier profile, as it will significantly change the taste.
- 1 ½ teaspoons Dijon Mustard: Adds a smooth tang and complexity. Yellow mustard can be substituted for a milder, classic flavor, or try spicy brown mustard for a bolder kick.
- 1 teaspoon White Vinegar (or Apple Cider Vinegar): A crucial acidic element that cuts through the richness of the yolks and mayo, brightening the overall flavor. Fresh lemon juice works well too.
- 1/4 teaspoon Fine Sea Salt (or to taste): Essential for enhancing all the other flavors.
- 1/8 teaspoon Freshly Ground Black Pepper (or to taste): Provides a gentle warmth. For a visually speckle-free filling, you can use white pepper.
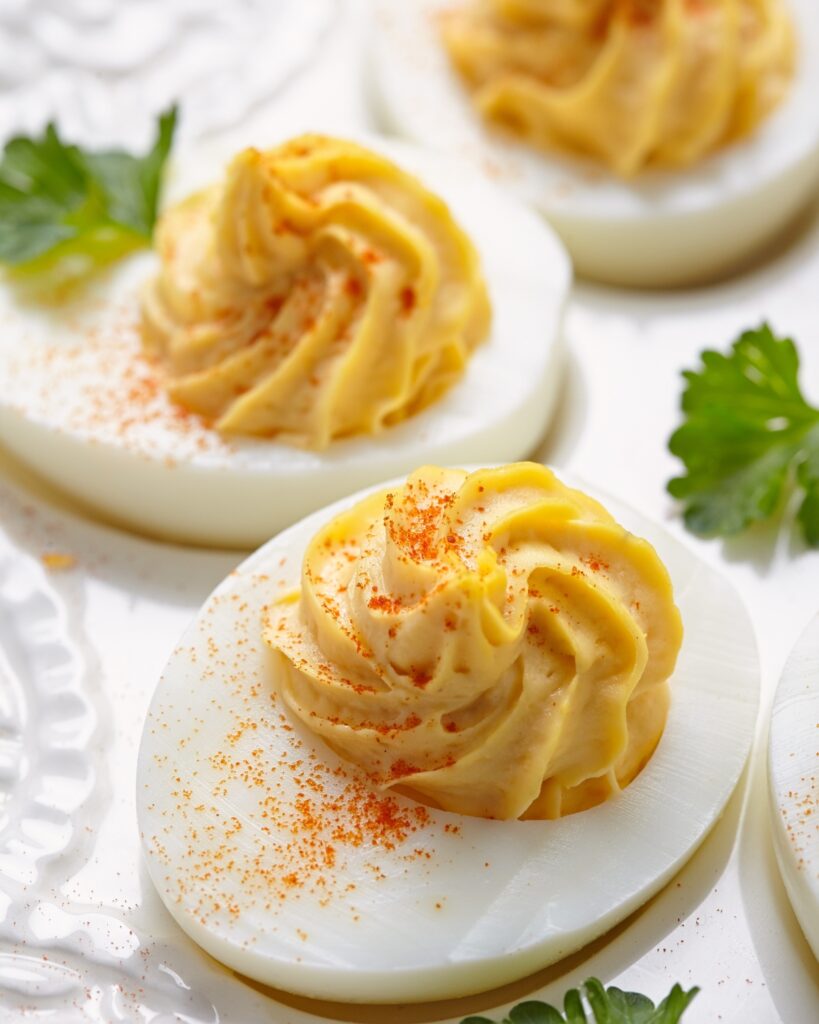
- Paprika (Sweet or Smoked): The traditional garnish, adding color and a subtle smoky or sweet note.
- Optional Garnishes: Finely chopped fresh chives, dill, or parsley for freshness; a tiny pinch of cayenne pepper for heat; a small slice of olive or a caper.
Essential Kitchen Equipment
- Medium Saucepan with Lid
- Slotted Spoon
- Large Bowl (for ice bath)
- Sharp Knife
- Small Mixing Bowl (for the filling)
- Fork (for mashing yolks)
- Small Spatula or Spoon (for mixing)
- Piping Bag with Star Tip (optional, for presentation) or a Small Zip-Top Bag
- Serving Platter
Step-by-Step Instructions to Deviled Egg Perfection
- Cook the Eggs: Place the 6 large eggs in a single layer in the medium saucepan. Add enough cold water to cover the eggs by about 1 inch. Bring the water to a rolling boil over high heat. Once boiling vigorously, immediately turn off the heat, cover the pan securely with the lid, and let the eggs sit undisturbed in the hot water for 10-12 minutes.
- Prepare the Ice Bath: While the eggs are cooking, fill the large bowl with plenty of ice cubes and cold water.
- Shock the Eggs: As soon as the 10-12 minutes are up, use the slotted spoon to carefully transfer the hot eggs directly into the prepared ice bath. Let them sit in the icy water for at least 15 minutes to cool completely. This step is vital – it halts the cooking process instantly (preventing green yolks) and contracts the egg white slightly, making peeling significantly easier.
- Peel with Care: Gently tap one end of a cooled egg on a hard surface, then roll it gently on the counter under your palm to crack the shell all over. Start peeling from the wider end (where the air cell usually is). Peeling under cool running water or dipping the egg back into the ice bath can help wash away stubborn shell fragments. Pat the peeled eggs completely dry with paper towels.
- Halve and Separate: Using a sharp knife (wipe it clean between cuts for neatness), slice each egg in half lengthwise. Carefully scoop out the cooked yolks using a small spoon or your fingertips and place them into the small mixing bowl. Arrange the empty egg white halves cut-side-up on your chosen serving platter.
- Create the Creamy Filling: Add the mayonnaise, Dijon mustard, white vinegar, salt, and pepper to the bowl containing the egg yolks.
- Mash and Mix: Using the back of a fork, thoroughly mash the egg yolks against the side of the bowl until they are reduced to fine crumbles with no large lumps remaining. This initial mashing is crucial for a truly smooth filling. Once mashed, stir vigorously with the fork, or switch to a small spatula, combining the yolks with the mayonnaise, mustard, vinegar, and seasonings until the mixture is completely smooth, homogenous, and creamy.
- Taste and Adjust: Sample the filling. Does it need more salt? More tang (mustard or vinegar)? More creaminess (a tiny bit more mayo)? Adjust the seasonings according to your preference.
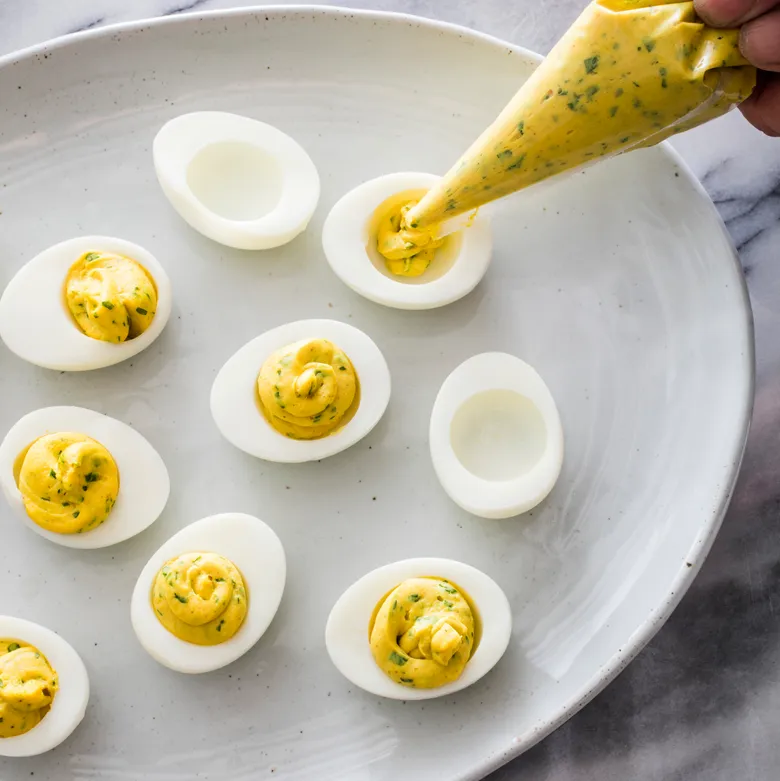
- Fill the Egg Whites: You have two main options:
- Simple Spoon Method: Use a small spoon to neatly scoop the yolk mixture back into the cavities of the egg white halves. Mound it slightly for a generous look.
- Piped Perfection: For a more elegant presentation, transfer the filling to a piping bag fitted with a decorative tip (like a star tip). Alternatively, spoon the filling into a small zip-top plastic bag, press the filling into one corner, snip off a small piece of the corner with scissors, and pipe the filling attractively into the whites.
- Garnish and Chill: Sprinkle the tops of the filled eggs with paprika. If using other garnishes like fresh herbs, add them now. Cover the platter loosely with plastic wrap (try propping it up with toothpicks if needed to avoid smushing the filling) and refrigerate for at least 30 minutes, or up to several hours, before serving. Chilling allows the flavors to meld beautifully and the filling to firm up slightly.
Serving Your Classic Deviled Eggs
Arrange the chilled deviled eggs on a clean platter just before serving. They are best enjoyed cold. Leftover deviled eggs should be stored covered in the refrigerator and consumed within 1-2 days for the best quality and safety, although their texture is optimal on the day they are made. Enjoy these simple, yet undeniably delicious, bites!
What can I add to egg mixture?
Fresh herbs help brighten the flavor of eggs, don’t be afraid to add basil, chives or parsley. Add meats, cheese, vegetables and herbs toward the end of cooking the eggs, just long enough to mix them in and warm them through. Alternatively, keep them separate and serve them alongside your eggs on the plate.